What Nd Filter To Use Mavic Air ?
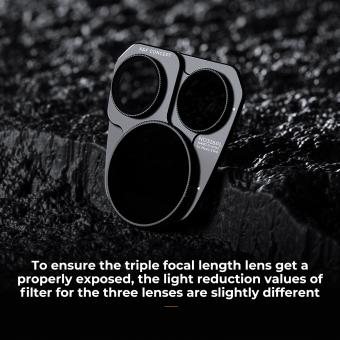
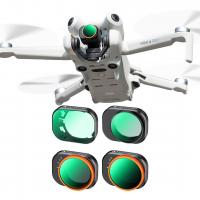
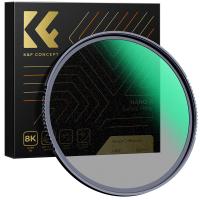
The specific ND filter to use with the Mavic Air drone depends on the lighting conditions and the effect you want to achieve in your aerial photography or videography. ND filters are used to reduce the amount of light entering the camera lens, allowing you to use slower shutter speeds or wider apertures in bright conditions. This helps to avoid overexposure and achieve more balanced exposure in your shots.
For bright sunny days, a higher ND filter like ND16 or ND32 is commonly used to reduce the amount of light entering the lens. This allows you to use slower shutter speeds and capture smoother motion in your footage. On slightly cloudy or less bright days, an ND8 or ND4 filter may be sufficient.
It's important to note that different brands may have slightly different filter ratings, so it's recommended to check the specific filter recommendations for your Mavic Air model. Additionally, experimenting with different filters and settings can help you achieve the desired results based on your shooting conditions and creative preferences.
1、 Understanding ND filters and their importance in aerial photography
Understanding ND filters and their importance in aerial photography is crucial for capturing high-quality images and videos with your Mavic Air drone. ND filters, or Neutral Density filters, are essential accessories that help control the amount of light entering the camera lens. They work by reducing the intensity of all wavelengths of light equally, allowing you to achieve a balanced exposure in bright conditions.
When it comes to choosing the right ND filter for your Mavic Air, it depends on the lighting conditions and the effect you want to achieve. ND filters come in different strengths, usually denoted by numbers such as ND4, ND8, ND16, etc. The higher the number, the darker the filter and the more light it blocks.
For bright sunny days, a higher strength ND filter like ND16 or ND32 is recommended to reduce the amount of light entering the lens. This helps prevent overexposure and allows you to use slower shutter speeds, resulting in smoother and more cinematic footage. On slightly cloudy days, an ND8 or ND4 filter may be sufficient.
It's important to note that the ideal ND filter strength can vary depending on the specific lighting conditions and the desired effect. Some photographers and videographers even use a combination of filters to achieve the desired exposure and creative look.
As for the latest point of view, advancements in drone technology and camera sensors have made it possible to capture high-quality images and videos in a wider range of lighting conditions. This has led to the development of variable ND filters, which allow you to adjust the strength of the filter by rotating it. Variable ND filters offer more flexibility and convenience, as you can easily adapt to changing lighting conditions without having to switch filters.
In conclusion, choosing the right ND filter for your Mavic Air depends on the lighting conditions and the effect you want to achieve. Experimenting with different filter strengths and understanding their impact on exposure will help you capture stunning aerial photographs and videos.
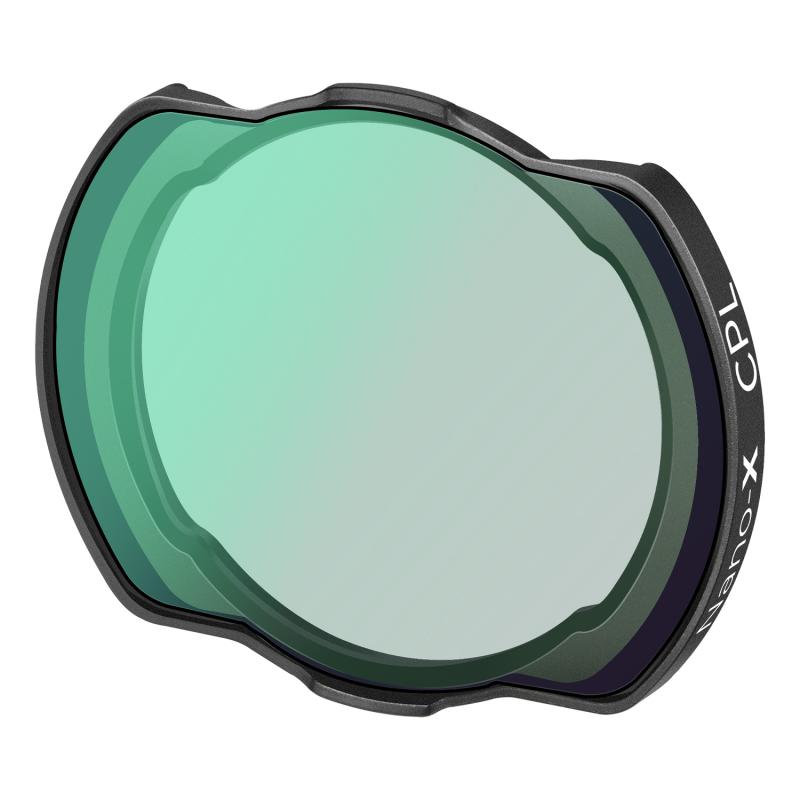
2、 Choosing the right ND filter for the DJI Mavic Air
Choosing the right ND filter for the DJI Mavic Air is essential for capturing stunning aerial footage. ND filters, or neutral density filters, are used to reduce the amount of light entering the camera lens, allowing you to achieve more balanced exposures and create smooth, cinematic shots.
When it comes to the Mavic Air, there are a few factors to consider when selecting an ND filter. Firstly, you need to determine the specific lighting conditions you will be shooting in. If you are shooting in bright, sunny conditions, you will need a higher density ND filter, such as an ND16 or ND32, to reduce the amount of light entering the lens. On the other hand, if you are shooting in lower light conditions, a lower density ND filter, such as an ND4 or ND8, may be sufficient.
Another important consideration is the desired effect you want to achieve. Different ND filters can create different effects, such as motion blur or smooth water effects. It's important to experiment with different filters to find the one that best suits your creative vision.
Lastly, it's worth noting that the Mavic Air has a fixed aperture of f/2.8, which means that the camera's exposure settings are limited. This can make it challenging to achieve the desired exposure when using ND filters. However, with the latest advancements in camera technology, the Mavic Air's auto-exposure algorithms have improved, making it easier to achieve balanced exposures with ND filters.
In conclusion, when choosing an ND filter for the DJI Mavic Air, consider the lighting conditions, desired effect, and the camera's fixed aperture. Experiment with different filters to find the one that best suits your needs and creative vision.
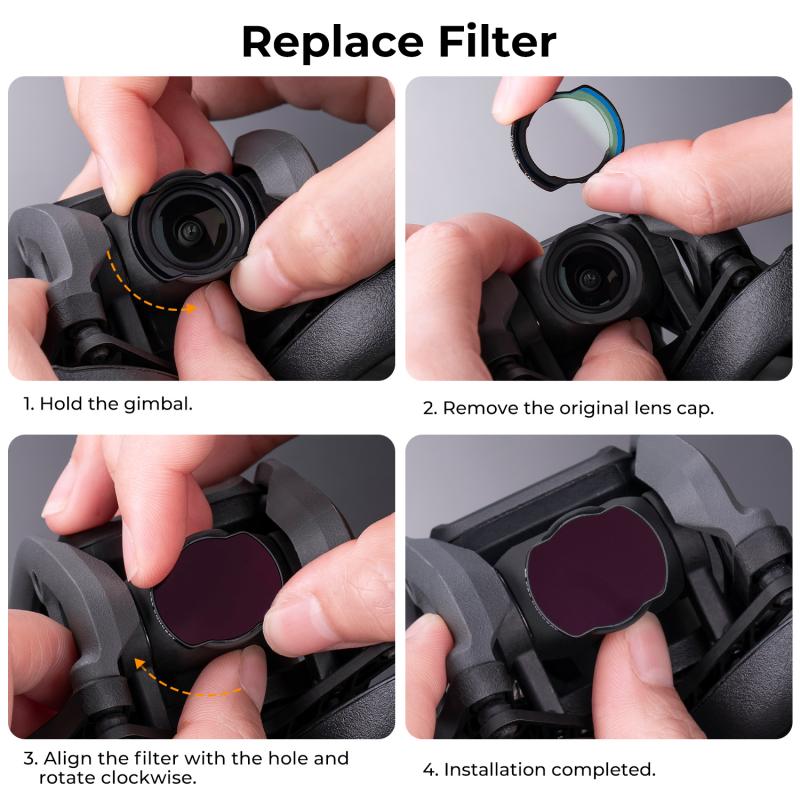
3、 Recommended ND filter strengths for different lighting conditions
When it comes to choosing the right ND filter for your DJI Mavic Air, it's important to consider the lighting conditions you'll be shooting in. ND filters are essential for controlling the amount of light that enters the camera sensor, allowing you to achieve the desired exposure and create stunning aerial footage.
For bright and sunny conditions, such as shooting on a clear day, a higher ND filter strength is recommended. ND16 or ND32 filters are commonly used in these situations to reduce the amount of light entering the camera, preventing overexposure and allowing you to capture more details in the highlights.
In slightly less bright conditions, such as during sunrise or sunset, an ND8 or ND16 filter can be used to achieve a balanced exposure. These filters will help to reduce the amount of light without compromising the overall image quality.
For low-light conditions or when shooting in cloudy weather, it's best to use a lower ND filter strength or even no filter at all. This will allow more light to enter the camera sensor, ensuring that your footage is not underexposed.
It's worth noting that the recommended ND filter strengths may vary depending on personal preferences and the specific lighting conditions you encounter. It's always a good idea to experiment with different filter strengths and adjust accordingly to achieve the desired results.
As technology advances, new ND filters with different strengths and coatings are constantly being developed. It's important to stay updated with the latest releases and advancements in the market to ensure you have the best tools for capturing high-quality aerial footage with your DJI Mavic Air.
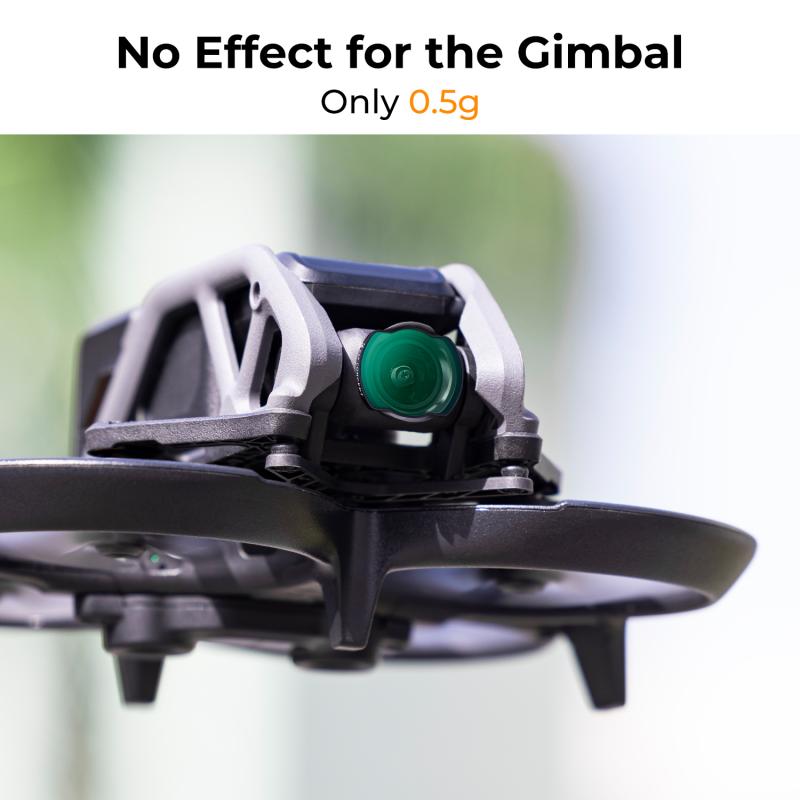
4、 Exploring the impact of ND filters on exposure and image quality
The choice of ND filter for the Mavic Air depends on various factors such as lighting conditions, desired exposure settings, and the specific effect you want to achieve in your aerial photography or videography. ND filters are primarily used to reduce the amount of light entering the camera lens, allowing for longer exposure times and more control over the camera's aperture settings.
When it comes to selecting the right ND filter for the Mavic Air, it is essential to consider the filter's density or strength. ND filters are available in different densities, typically measured in stops. The higher the density, the more light the filter blocks. For example, an ND4 filter reduces the light by two stops, while an ND16 filter reduces it by four stops.
The choice of ND filter also depends on the specific shooting conditions. In bright daylight, a higher density filter like an ND16 or ND32 may be suitable to achieve slower shutter speeds and avoid overexposure. On the other hand, in low-light conditions or during sunset or sunrise, a lower density filter like an ND4 or ND8 may be sufficient to achieve the desired exposure settings.
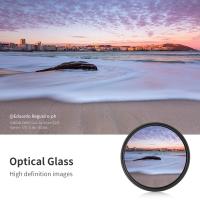
It is important to note that using ND filters can have an impact on image quality. Cheaper or lower-quality filters may introduce color casts, reduce sharpness, or cause vignetting. Therefore, it is recommended to invest in high-quality ND filters specifically designed for the Mavic Air to ensure optimal image quality.
In conclusion, the choice of ND filter for the Mavic Air depends on the specific shooting conditions and desired exposure settings. It is crucial to consider the filter's density and invest in high-quality filters to maintain image quality.
