Wireless Lavalier Microphone For Iphone How To Use ?
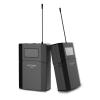
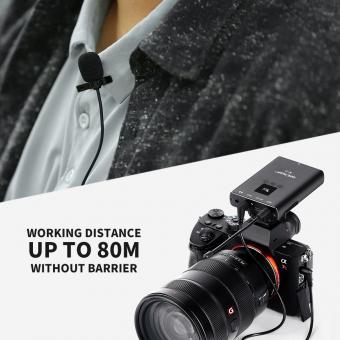
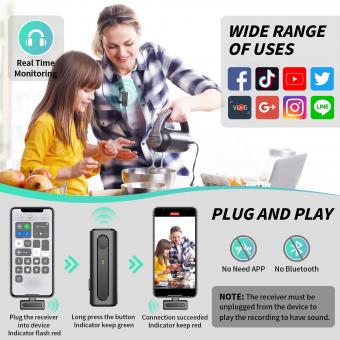
To use a wireless lavalier microphone with an iPhone, you will need a compatible wireless microphone system that connects to your iPhone. First, ensure that the wireless microphone system is charged or has fresh batteries. Then, turn on the wireless microphone transmitter and receiver. Pair the transmitter and receiver by following the manufacturer's instructions. Connect the receiver to your iPhone using the appropriate cable or adapter. Open the audio recording or video recording app on your iPhone and select the wireless microphone as the audio input source. Test the microphone by speaking into it and checking if the audio is being captured by the iPhone. Adjust the microphone's volume and other settings as needed. Once you have finished using the wireless lavalier microphone, turn off the transmitter and receiver to conserve battery life.
1、 Wireless technology in lavalier microphones for iPhone
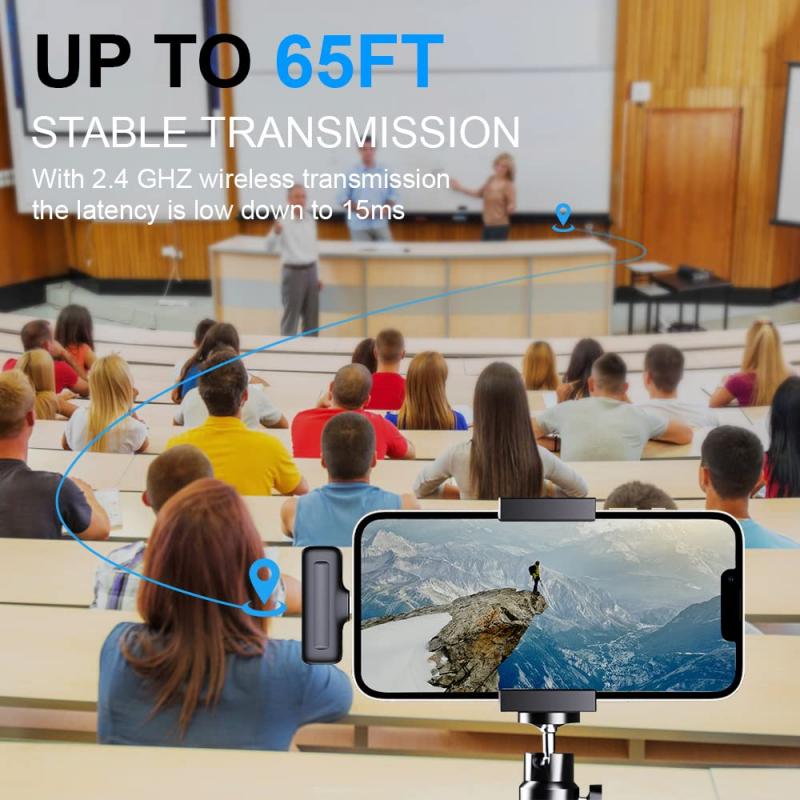
Wireless technology has revolutionized the way we use lavalier microphones with iPhones. With the advent of wireless lavalier microphones, users can now enjoy the freedom of movement without being tethered to their devices. These wireless microphones connect to iPhones via Bluetooth or other wireless protocols, allowing for seamless audio transmission.
To use a wireless lavalier microphone with an iPhone, follow these steps:
1. Ensure that your wireless lavalier microphone is charged and turned on. Most wireless microphones have a power button or switch that needs to be activated.
2. On your iPhone, go to the Settings app and navigate to the Bluetooth menu. Make sure Bluetooth is turned on.
3. Put your wireless lavalier microphone into pairing mode. This is usually done by pressing and holding a button on the microphone until a light starts flashing or a voice prompt indicates that it is ready to pair.
4. On your iPhone, under the Bluetooth menu, you should see the name of your wireless lavalier microphone. Tap on it to connect.
5. Once connected, you can open any audio recording or streaming app on your iPhone and start using the wireless lavalier microphone. The audio will be transmitted wirelessly from the microphone to your iPhone, providing high-quality sound.
It is important to note that different wireless lavalier microphones may have slightly different pairing procedures, so it is always a good idea to consult the user manual that comes with your specific microphone.
In terms of the latest point of view, wireless lavalier microphones for iPhones have become increasingly popular due to their convenience and versatility. They are widely used by content creators, journalists, public speakers, and performers who require hands-free audio recording or broadcasting. The advancements in wireless technology have also improved the reliability and stability of these microphones, ensuring a seamless audio experience.
Furthermore, some wireless lavalier microphones now come with additional features such as noise cancellation, adjustable gain control, and compatibility with multiple devices. These features enhance the overall audio quality and user experience, making wireless lavalier microphones a valuable tool for professionals and enthusiasts alike.
In conclusion, wireless lavalier microphones for iPhones have simplified the process of capturing high-quality audio without the hassle of wires. By following the steps mentioned above, users can easily connect and use these microphones with their iPhones. With the continuous advancements in wireless technology, we can expect even more innovative features and improvements in the future, further enhancing the capabilities of wireless lavalier microphones for iPhones.
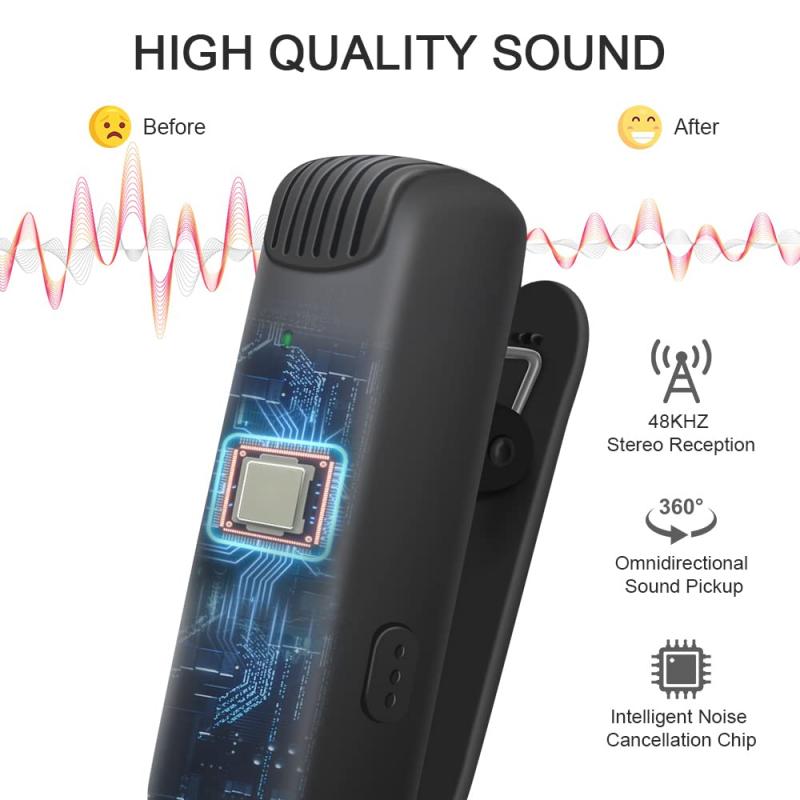
2、 Connecting a wireless lavalier microphone to an iPhone
Connecting a wireless lavalier microphone to an iPhone is a simple process that can greatly enhance the audio quality of your recordings. With the advancements in technology, wireless lavalier microphones have become more accessible and user-friendly, making them a popular choice for content creators, journalists, and vloggers.
To begin, you will need a wireless lavalier microphone that is compatible with your iPhone. There are several options available in the market, ranging from budget-friendly to professional-grade models. Look for a microphone that specifically mentions iPhone compatibility or has a Lightning connector.
Once you have the microphone, follow these steps to connect it to your iPhone:
1. Ensure that your iPhone is charged and turned on.
2. Turn on the wireless lavalier microphone and make sure it is in pairing mode. This usually involves pressing a button on the microphone or its receiver.
3. On your iPhone, go to the Settings app and navigate to the Bluetooth menu.
4. Enable Bluetooth if it is not already turned on.
5. Your iPhone should detect the wireless lavalier microphone in the list of available devices. Tap on it to connect.
6. Once connected, you can open your preferred recording app or video recording app on your iPhone. The audio input should automatically switch to the wireless lavalier microphone.
7. Test the microphone by speaking into it and checking the audio levels on your recording app.
It is important to note that the specific steps may vary slightly depending on the brand and model of the wireless lavalier microphone you are using. Therefore, it is always recommended to refer to the manufacturer's instructions for detailed guidance.
In conclusion, connecting a wireless lavalier microphone to an iPhone is a straightforward process that can significantly improve the audio quality of your recordings. With the increasing popularity of content creation, having a reliable and easy-to-use wireless lavalier microphone is essential for capturing clear and professional-grade audio on your iPhone.
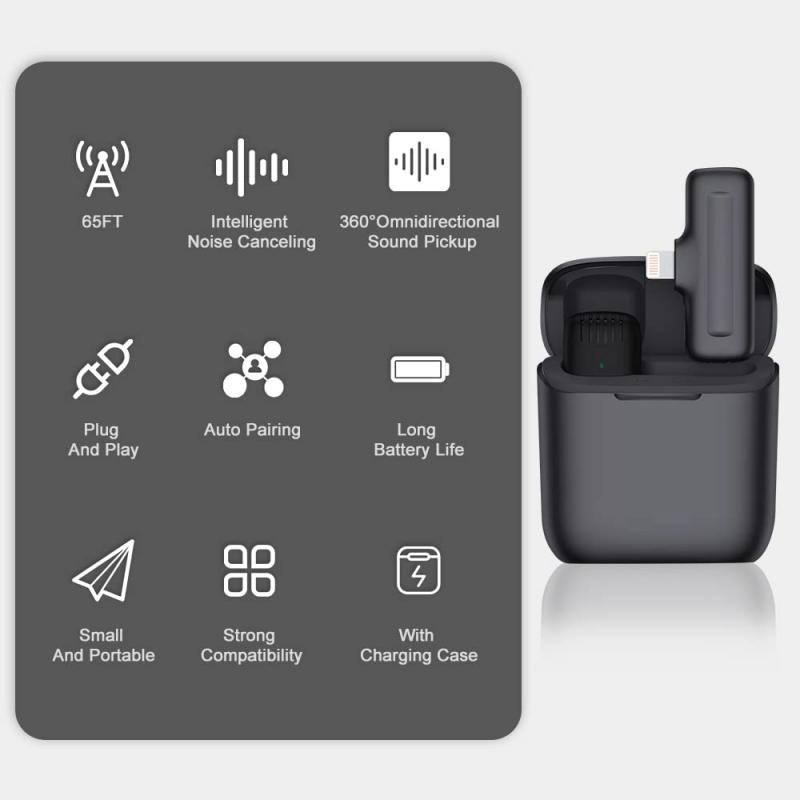
3、 Pairing and configuring a wireless lavalier microphone with iPhone
Pairing and configuring a wireless lavalier microphone with an iPhone is a relatively straightforward process that can greatly enhance the audio quality of your recordings. Here's a step-by-step guide on how to use a wireless lavalier microphone with an iPhone:
1. Choose a compatible wireless lavalier microphone: Ensure that the microphone you select is compatible with your iPhone. Look for models that specifically mention iPhone compatibility or have Bluetooth connectivity.
2. Power on the microphone: Most wireless lavalier microphones have a power button or switch. Turn it on and make sure it is in pairing mode.
3. Enable Bluetooth on your iPhone: Go to the Settings app on your iPhone and tap on Bluetooth. Toggle the switch to enable Bluetooth.
4. Pair the microphone with your iPhone: On the Bluetooth settings screen, you should see the name of your microphone listed under "Other Devices" or "Available Devices." Tap on the microphone's name to initiate the pairing process. Follow any on-screen prompts to complete the pairing.
5. Configure the microphone settings: Once the microphone is successfully paired, you may need to configure its settings. Some microphones have dedicated apps that allow you to adjust settings such as gain, EQ, and monitoring. Download and install any necessary apps from the App Store and follow the instructions provided.
6. Test the microphone: Open your preferred recording app on your iPhone and start a new recording. Speak into the lavalier microphone and monitor the audio levels. Adjust the microphone's position and settings as needed to achieve optimal sound quality.
It's important to note that the specific steps may vary depending on the brand and model of the wireless lavalier microphone you are using. Always refer to the manufacturer's instructions for detailed guidance.
In recent years, advancements in wireless technology have made it easier than ever to pair and configure wireless lavalier microphones with iPhones. Many microphones now offer seamless Bluetooth connectivity and user-friendly apps for customization. Additionally, some microphones even support advanced features like multi-channel recording and real-time audio monitoring. These advancements have made wireless lavalier microphones a popular choice for content creators, journalists, and anyone looking to improve the audio quality of their iPhone recordings.
Overall, pairing and configuring a wireless lavalier microphone with an iPhone is a simple process that can greatly enhance your audio recordings. With the right microphone and proper setup, you can achieve professional-quality sound for your videos, podcasts, interviews, and more.
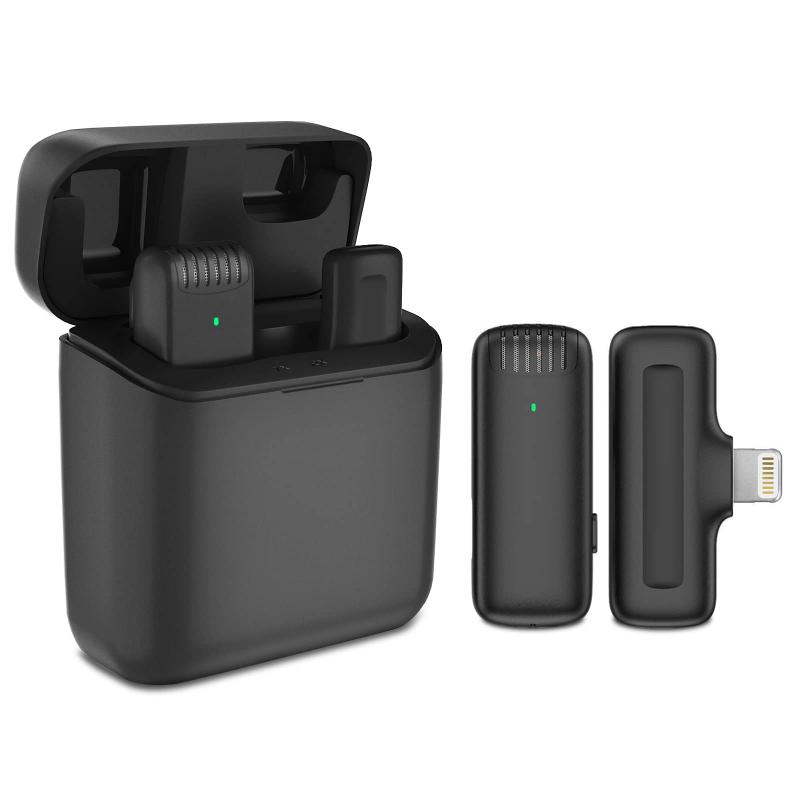
4、 Adjusting settings for optimal performance of wireless lavalier microphone
Wireless lavalier microphones for iPhone have become increasingly popular for content creators, journalists, and performers who require hands-free and high-quality audio recording. To make the most of your wireless lavalier microphone, it is essential to understand how to use it effectively and adjust the settings for optimal performance.
Firstly, ensure that your wireless lavalier microphone is compatible with your iPhone. Many models connect via Bluetooth or utilize a dedicated app for seamless integration. Once connected, position the microphone close to the sound source, such as clipping it onto clothing near the speaker's mouth. This ensures clear and crisp audio capture while minimizing background noise.
To adjust the settings for optimal performance, start by checking the microphone's gain or sensitivity level. This setting determines how much sound the microphone picks up. Adjust it according to the environment and the distance between the microphone and the speaker. Too high of a gain may result in distortion, while too low may result in low volume levels.
Additionally, consider adjusting the frequency channel of your wireless lavalier microphone. In crowded areas with multiple wireless devices, interference can occur. Changing the frequency channel can help avoid interference and maintain a stable connection.
Furthermore, some wireless lavalier microphones offer additional features like EQ (equalization) settings. These settings allow you to adjust the audio frequencies to enhance the sound quality. Experiment with different EQ presets or manually adjust the frequencies to find the best sound for your specific needs.
Lastly, always monitor the audio levels while recording. Most wireless lavalier microphones have a built-in audio meter or can be monitored through the dedicated app. Keeping an eye on the levels ensures that the audio is not too loud or too soft, preventing any potential issues during post-production.
As technology advances, new features and improvements are constantly being introduced to wireless lavalier microphones for iPhone. Stay updated with the latest firmware updates and manufacturer recommendations to make the most of your device and ensure optimal performance.
