Reviews
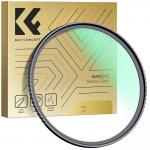
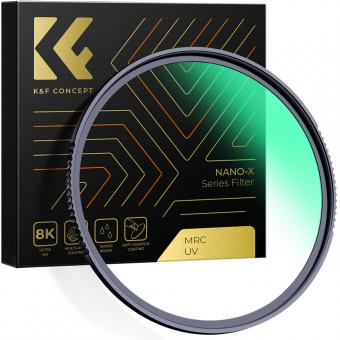
Protection Without Distortion
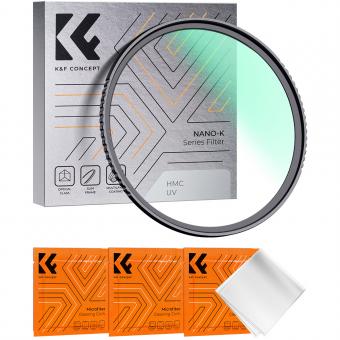
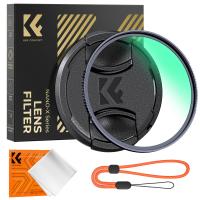
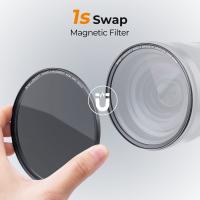
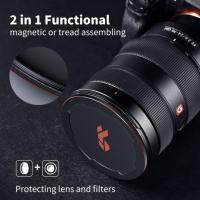
Today most of the benefit of a UV Haze filter is to protect the front element of a camera’s lens. There is some haze correction too but the film need for blue reduction isn’t a case with digital cameras. The bigger reason is that post processing software today has the ability to filter as much haze as the photographer wishes which is something no UV filter can do.
The need for protection is real. Even if it means keeping your lenses’ front elements from getting dirty or splashed, these filters play a role. I had this filter on when I took a misstep and splashed into a small river soaking the camera. I felt a good deal better about my clumsiness knowing that I’d not have to face the delicate job of lens cleaning when I got home.
However, a filter in the light path needs to be of high quality or it’ll degrade the image. I am far from having a lab where I can test glass here. The best test I thought up was simple. I’d take an identical image with and without the filter on and then compare to see if I caught any issues. Yes, it’s crude but it’s what I have.
Please see the included image. To create this, I placed the camera on a tripod, set the exposure manually as a best guess and then snapped two images – one with and one without this filter. I took the RAW images, arbitrarily cut a chunk from one and pasted it on the other. Both are labeled. I then compared the two concentrating on the area where they were joined. I’ve drawn a black line at the approximate location of the join. I did no post processing of any sort. These are the RAW (DNG) images directly from the camera only converted to JPEG for posting here.
I did my best pixel peek at both images finding no distortion whatsoever from this filter. In other words, it does just what I want and now has earned a place on my lens.
11/11/2024
Related Articles
Top Bestselling Products
-40%
-36%
-29%
-48%
-29%
Guess you like products
Guess you like articles
Related searches
Protection One Outdoor Cameras
Ear Protection With Microphone
Headphones For Hearing Protection
Case With Camera Protection
Security Camera Protection Box
Outdoor Camera Protection Box
Camera Lens Rain Protection
Clear Filter For Lens Protection
Video Cameras For Home Protection
Voice Recorder With Password Protection

